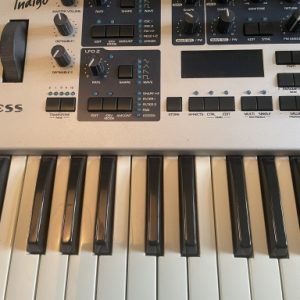
Sequential Prophet5 Repair & restoration. A Rev3.2 in excellent condition externally but rather in need of some attention internally.
There were signs of previous works which may well have been carried out in haste and without stripping down.
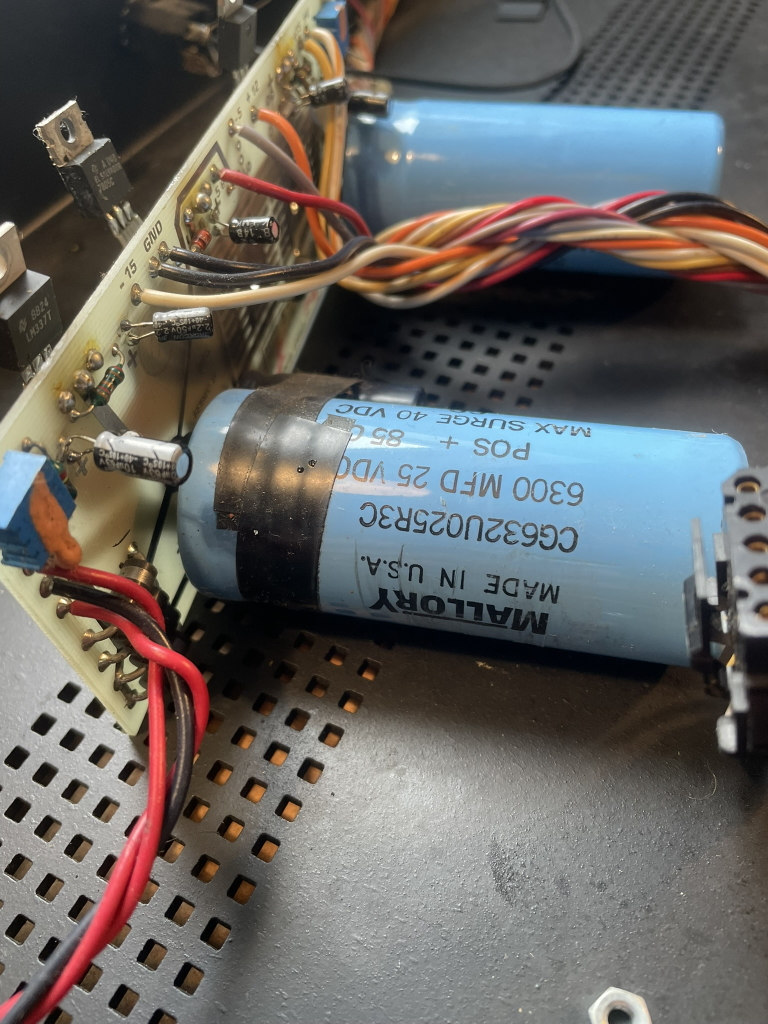
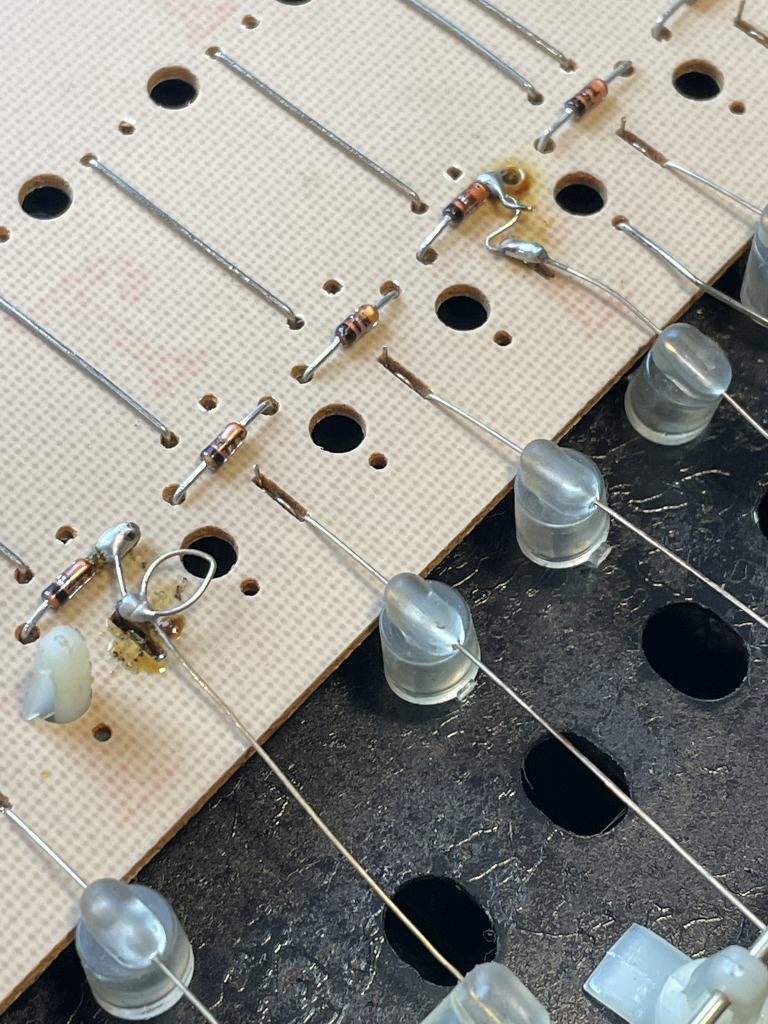
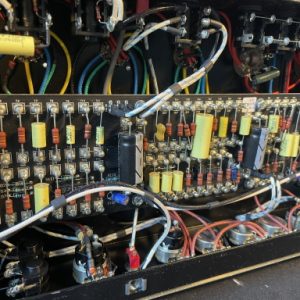
A number of components had been replaced (mainly capacitors and diodes), but they had simply been soldered onto the cut legs of the existing components rather than through the board. This would indicate that the boards had not been removed previously so all these were replaced and soldered correctly, through to the rear of the PCBs. The potential issue with soldering to a cut leg is that the heat may well connect new component securely but it can weaken, or even break, the rear board connection which is not a good idea.
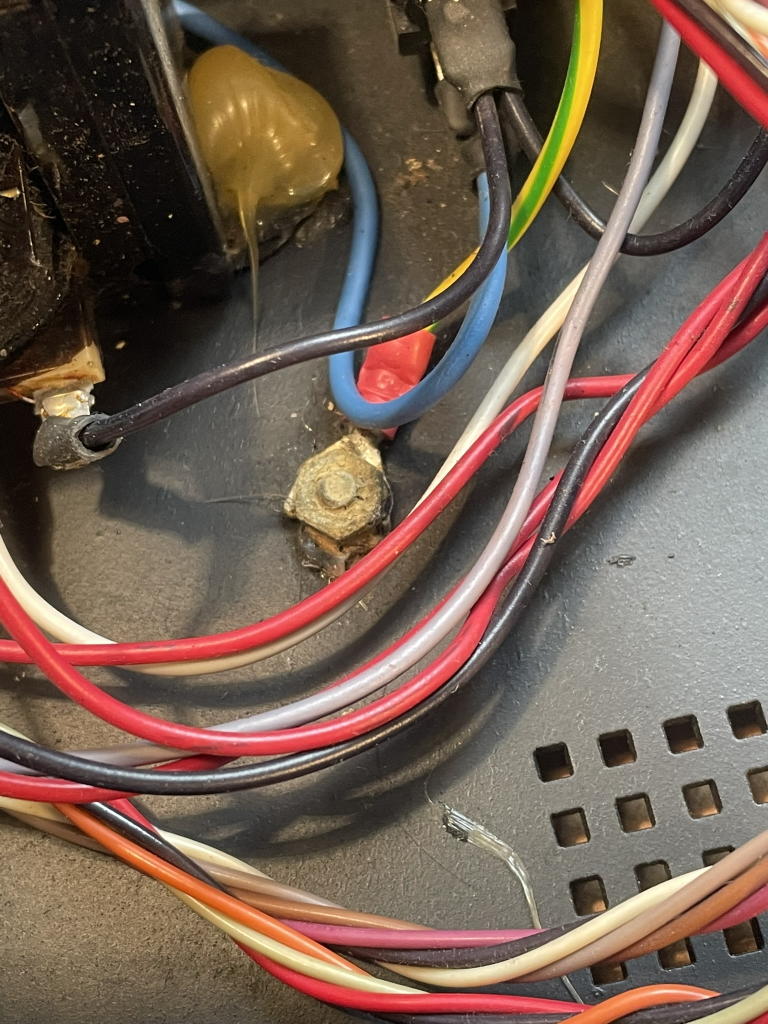
The original capacitors were replaced with a modern equivalent kit (from Rosen Sound) who also supplied a great 3D printed capacitor support cradle. The existing bolts were not long enough to secure it though so new ones were installed along with some hot glue just so the PSU PCB did not move about.
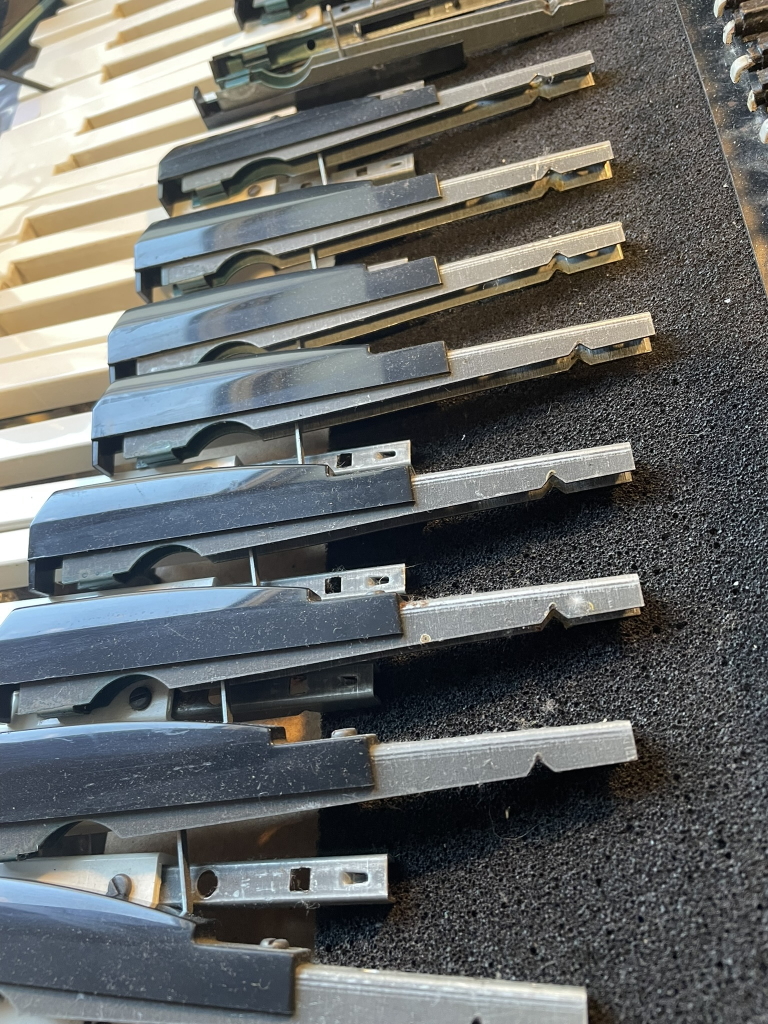
The keybed was completely overhauled with new bushings and the keystops were straightened as best as possible (not an easy task at all). The J-wires were manually adjusted to provide a more uniform contact action.
There was also a huge amount of gaffer tape inside the unit and the keybed frame itself was not even screwed to the base plate. It turned out the reason for this was a ground loop (loud hum) which the gaffer tape prevented as the keybed was not earthed. Out with the gaffer tape and in with cleaning the earth point stud and further sorting of the audio hum issue.
This synth sounds absolutely incredible. They are not overrated.
However, working on a vintage Prophet 5 requires a lot of dismantling to access everything and having to ‘prop’ up vertically the top frame is a real pain.
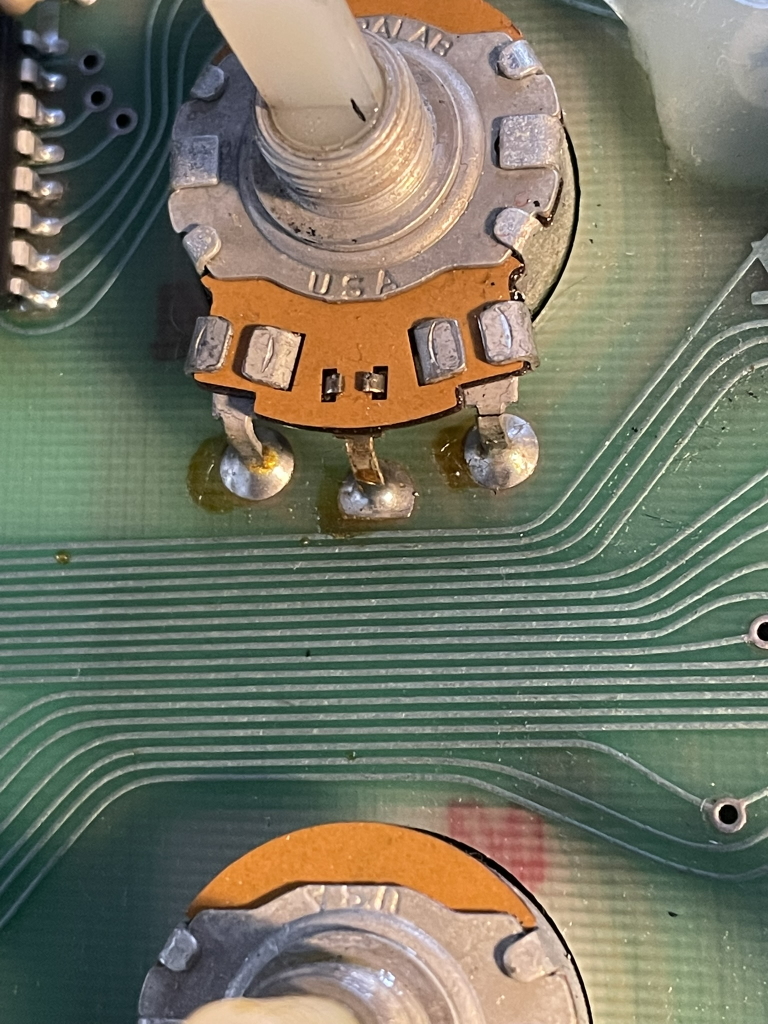
Another gremlin was the potentiometers. A few were completely cleaned and re-greased (fairly easy) but the design sort of ‘hovers’ them above a hole in the PCB. This causes minute flexing in the legs and two had almost invisible hairline cracks which needed repairing. They were not working but it was nothing to do with logic chips or suchlike it was simple cracked pot legs. Resoldering them wasn’t so simple as they sit above the PCB hole so a template was stuck to the back of the PCB to level them with the others while soldering back.