Menu
Roland D50 repair – this unit was in a real sorry state of affairs. It had been in storage for about 20 years, well storage is an understatement…it was in a shed and actually had bamboo sprouting out of, and through it.

We suggested giving it a good internal look over before trying to power it up as the signs were there that simply ‘trying it’ would potentially cause circuit damage.
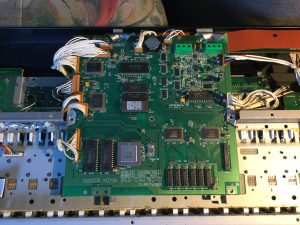
There are a serious amount of screws and sub-boards that need removing to get into the D50 and once the shell is open the same applies to getting at all the other internal boards.
The PSU was recapped and voltages checked. Once confirmed the unit did power up but many keys did not work.

However, the front panel tact switches were not great so these were all replaced.
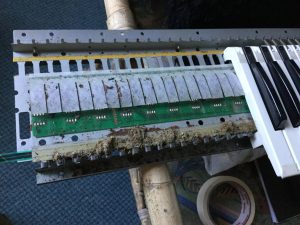
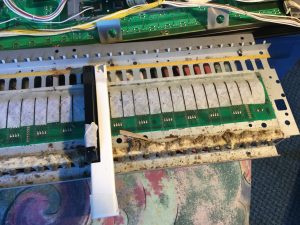
As can be seen in the pictures, the key stop felt was rotted. This was carefully removed and replaced and the plastic key contacts were all cleaned.
Luckily there was no battery damage and this was replaced.
The front panel required some serious cleaning and polishing.

The most tricky thing was getting good contact from all the keyboard rubber contacts. This type of arrangement often seems to cause issues after a long time and great care needs to be taken when removing, cleaning and replacing.

We had to do this three times, reassemble, test then disassemble to get all the contact just right.
The velocity sensitive strip still worked but not as efficiently as it should. It was decided to leave it as it was.
There was also a fair bit of rust which needed attention.
On the whole, not the easiest of keyboards to take apart for servicing but it is all back together and working now.