Description
Yamaha DX7 Repair2
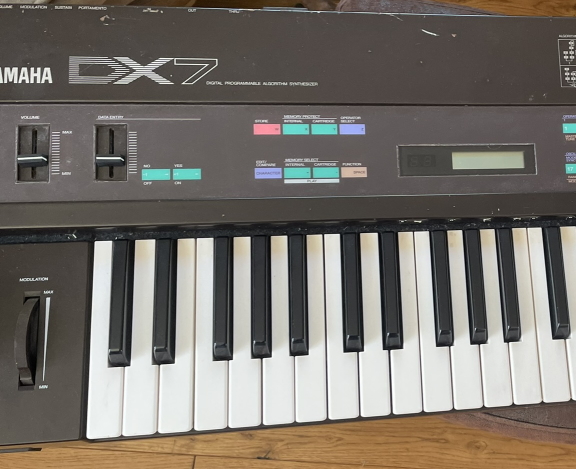
This patina covered Yamaha DX7 in for repair2.
DX7 Faults:
- Two panel switches were not working.
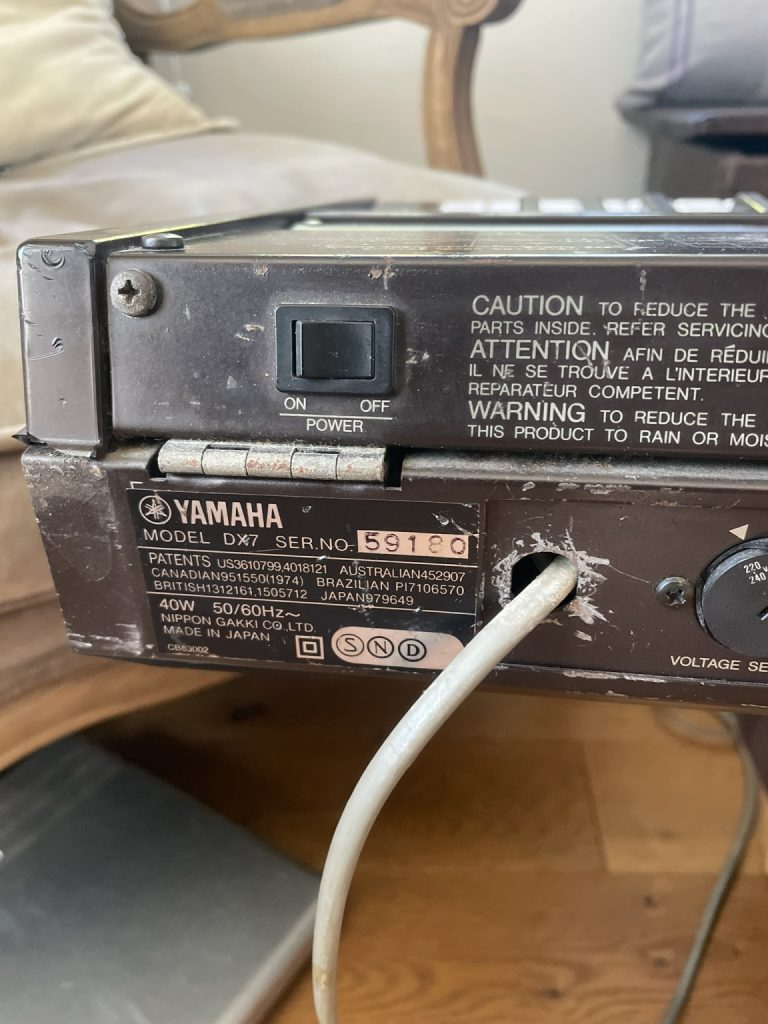
- The main cable needed a UK plug.
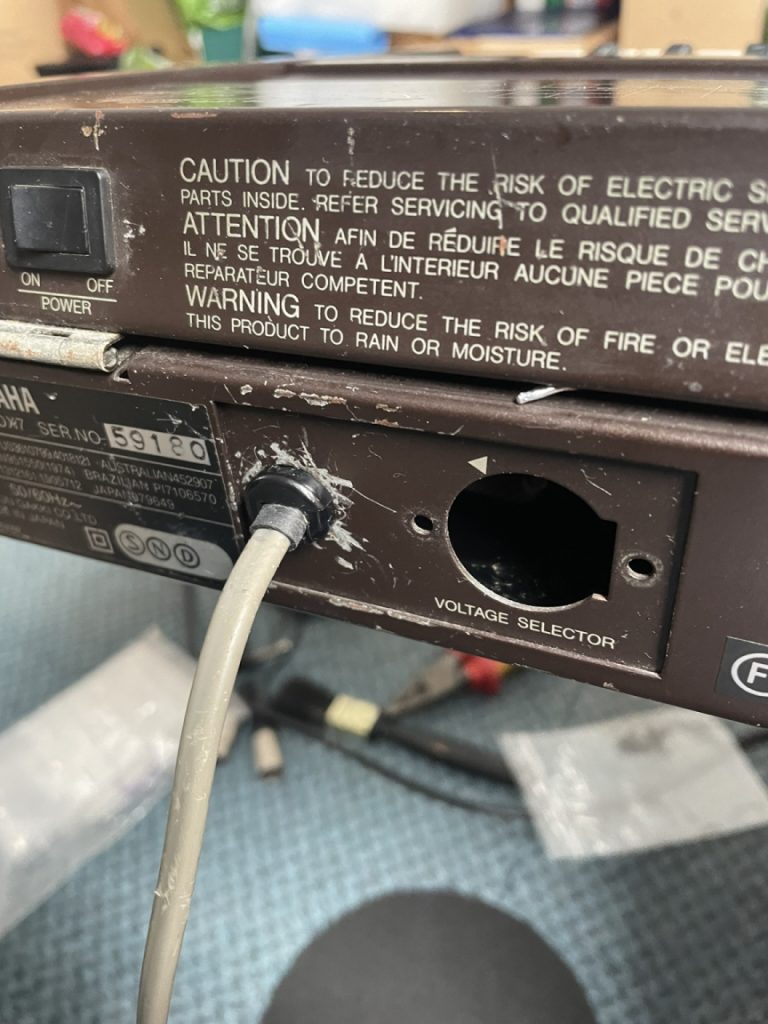
- The mains cable grommet had been lost in time.
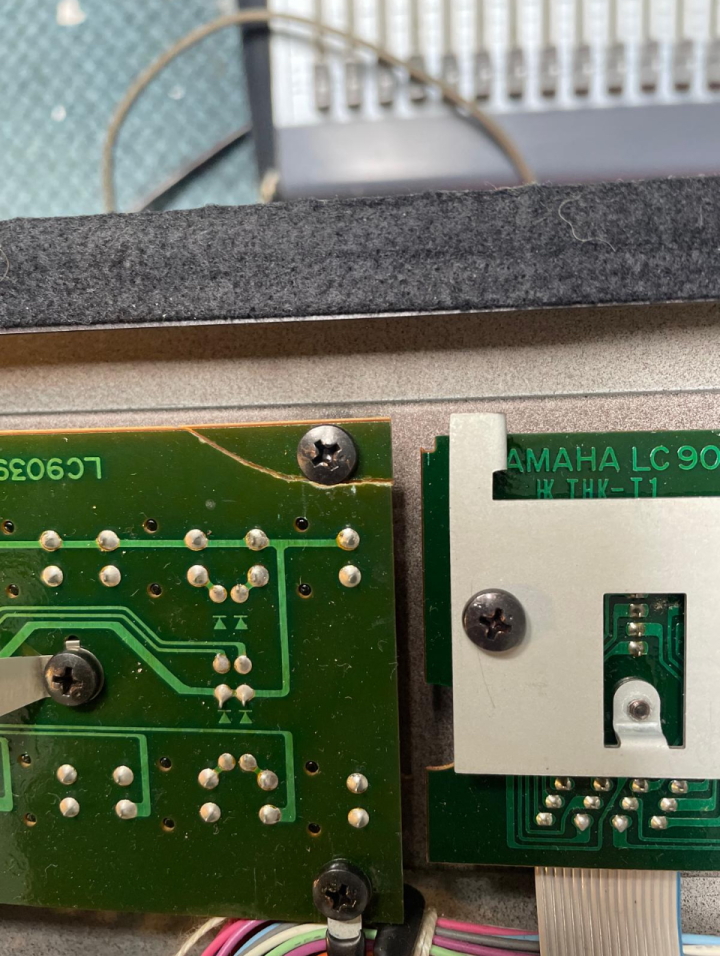
- A broken PCB needed repair.
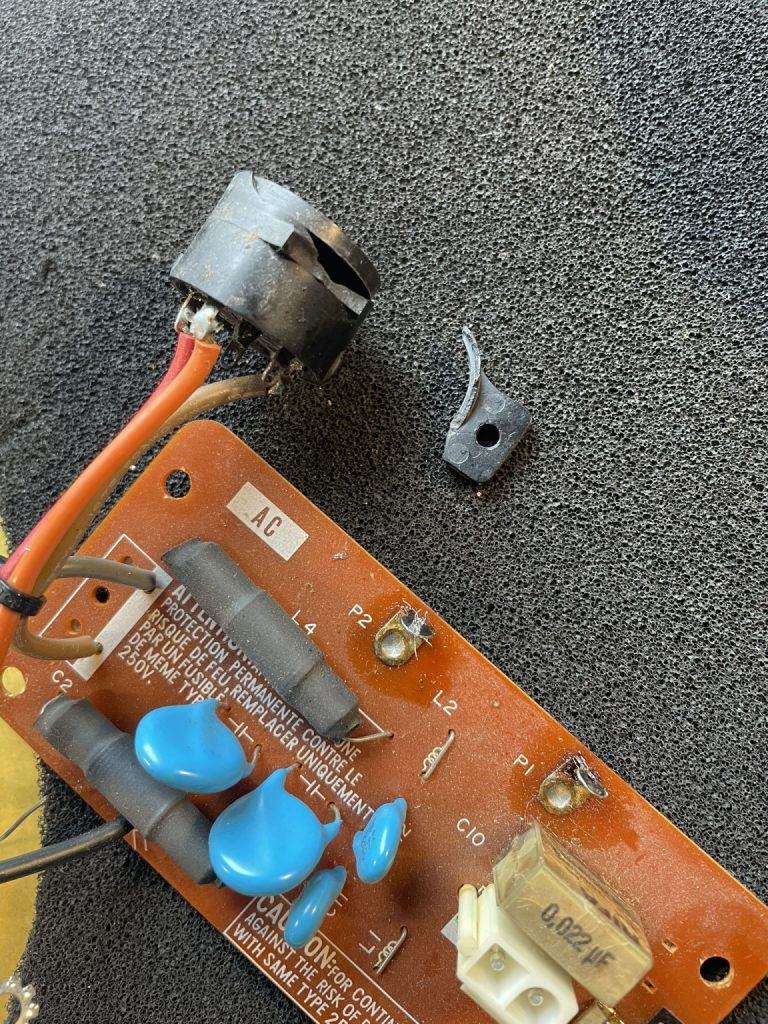
- A snapped voltage selector housing needed repair.
- Stickers needed removing from front panel.
- Power supply needed a service.
- An end cheek corner had been broken so needed repair.
- New battery required.
Works Completed:
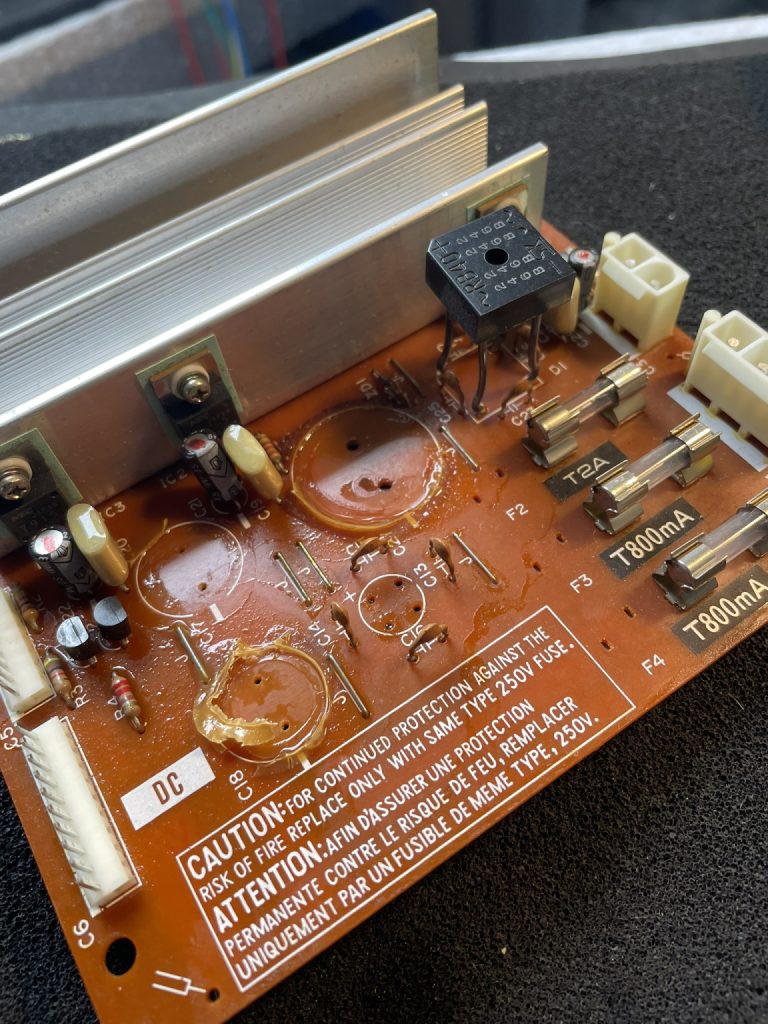
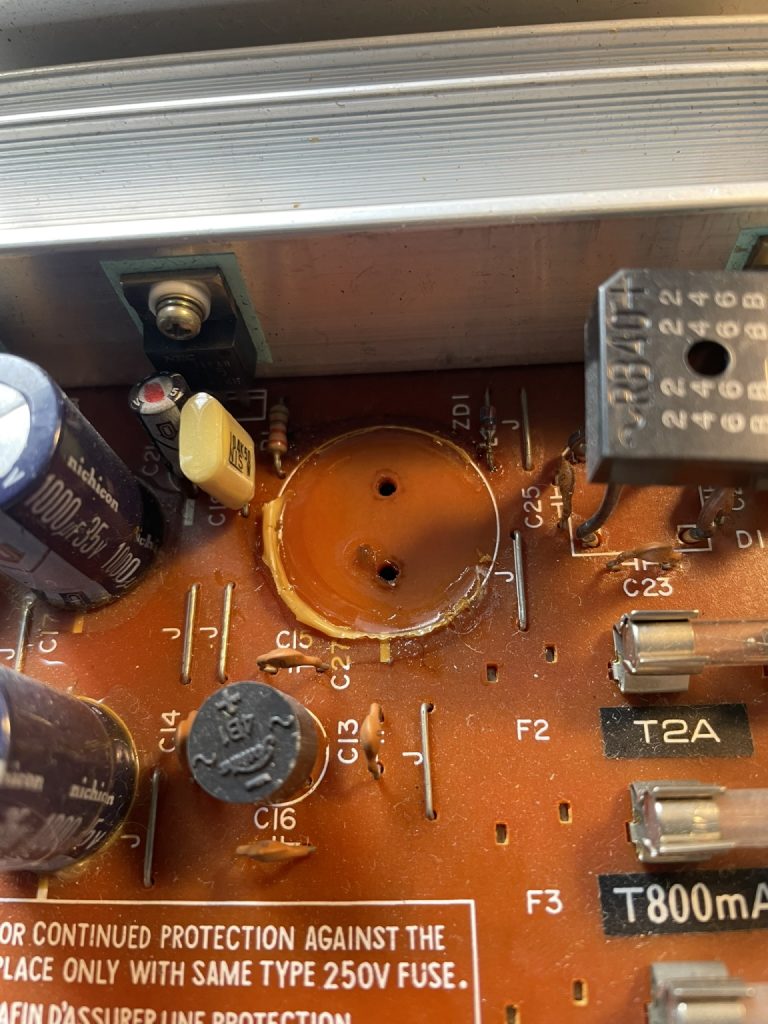
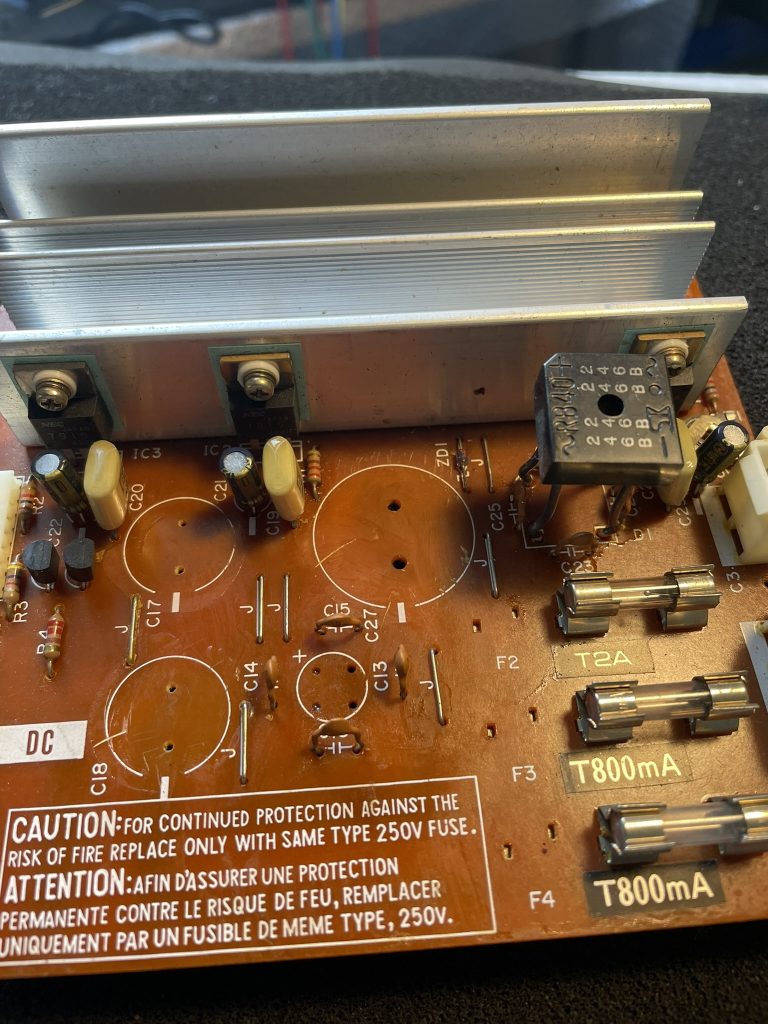
- Serviced the power supply and mains in board.
- Cleaned keys.
- Removed all the dust from inside.
- Installed new memory battery.
- Repaired broken PCB corner.
- Removed old corrosive capacitor glue from PSU board.
- Installed a replacement mains cable gland.
- Fitted UK mains plug.
- Repaired broken end cheek and replaced missing screws.
- Repaired snapped voltage selector switch.
An electrical service along with a number of mechanical repairs for this aged unit.
The snapped PCB repair was particularly tricky because the board had very slightly bent over the years. The tact switches only have around 0.3mm of travel between off and on states which leaves very little leeway for perfect operational movement. Reinforcing the board with epoxy did add good strength but once dried it was still not quite accurate enough to allow the switch to open and close. Lots of fettling was needed along with a spacer of just the right thickness to provide enough clearance for the switch to open fully but still depress when pushed to operate.